Tazworks + vID New Client Set Up
Follow the steps below when you have a new vID client
Add the client to the vID API application in Tazworks
- Log in to your Taz instance
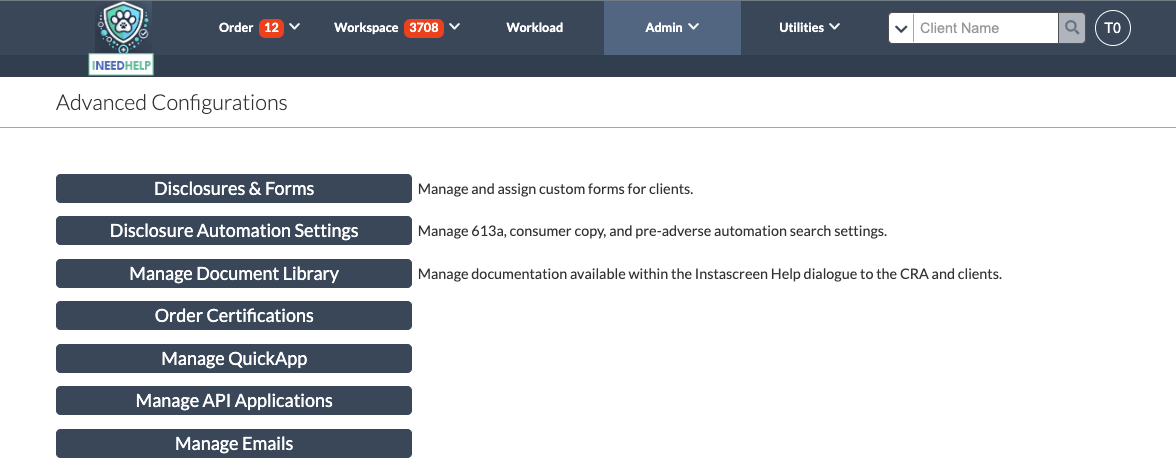
- Navigate to the Admin tab
- Select Advanced
- Select Manage API Applications
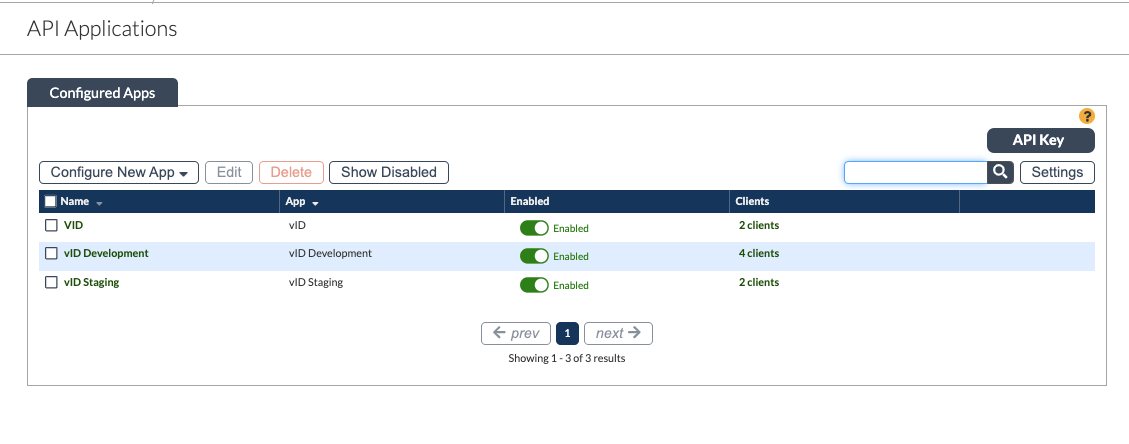
- Select the vID App
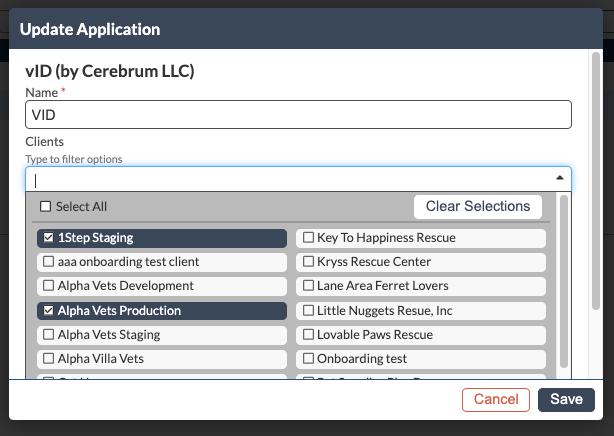
- Add the client to the vID application
Add the vID Product to the Client (or enable the vID search on an existing package)
- Navigate to the Admin tab
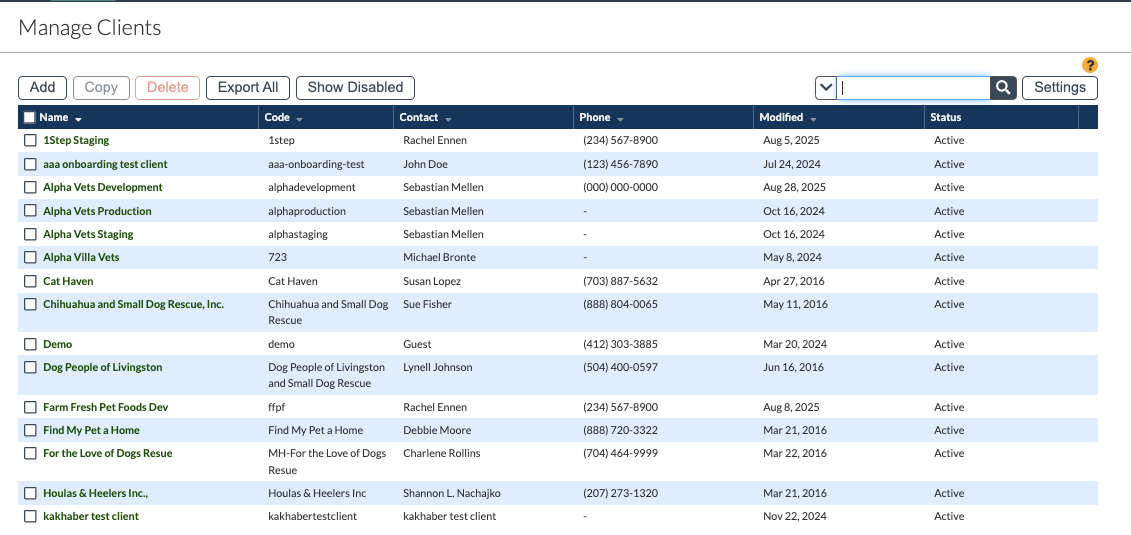
- Select “Manage Clients”
- Locate the client you added to the vID API Application
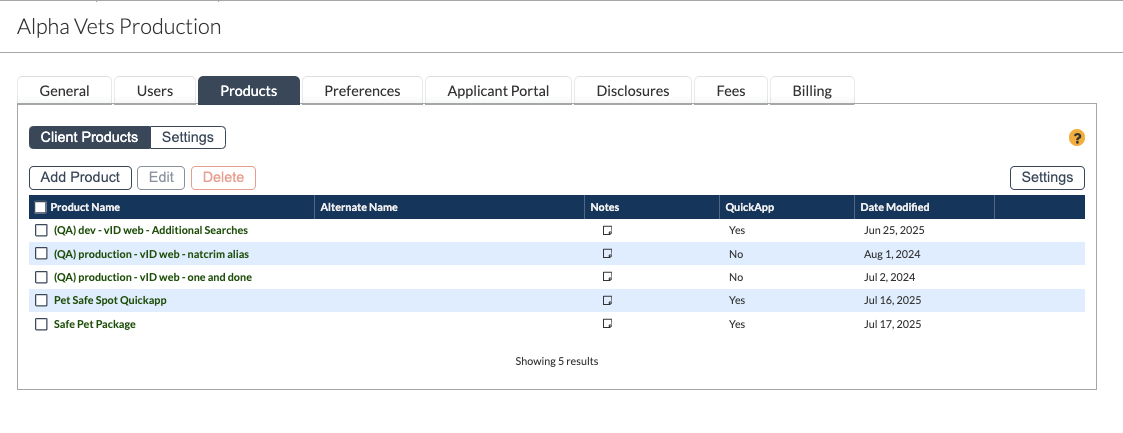
- Navigate to the product tab
- Add the vID Package or add vID as a search to the existing package
Submit the Onboarding Request to Cerebrum
Once you have completed the above steps, follow the steps below to submit the onboarding request to Cerebrum.
- Submit our Onboarding Form linked here.
- Be sure to include the client name, product name, if the client wishes to include SSN and disclosure collection in the vID app, and what searches are included in the package.
- NOTE: We ONLY need to know the searches if you want Cerebrum to dispatch them automatically once the vID is complete and posted back into Tazworks. If searches are provided in the onboarding form, we will assume you want us to dispatch them automatically.
- You don’t need to provide them in the onboarding form if you wish to dispatch the searches manually.
🎉 Congratulations—you’ve finished the onboarding process! Once onboarding is complete within our system, a Cerebrum team member will contact you.
Updated 5 months ago
Did this page help you?